ALIGNMENT SERVICES, LLC
Serving Industry For 30+ Years
High Accuracy On-Site Measurement
Technology, Equipment, and Services for Precision Large Scale Dimensional Metrology
Increase Production, Improve Quality, Maximize Revenue
Contact ASC to Discuss Your Project
 [
Brochure (~1MB) ]
Just The Facts:
· Applications
· Technology and Equipment
· Software Download
· Experience
· Contact ASC
Return to top (Just The Facts)
Applications:
OPTICAL
ALIGNMENT & PRECISION MEASUREMENT
PRECISION LARGE-SCALE DIMENSIONAL METROLOGY
Equipment and Techniques Providing State-Of-The-Science Accuracy.
_Rotating Shaft Alignment
.Straightness measurements
.Determination of hot running -vs- cold static alignment Hot-vs-Cold Shaft Alignment bh
.Line bore and bearing alignment
_Gear Trains
.Parallelism and perpendicularity
_Compressor Trains
.Setting level or to a predetermined reference
.Cross Head perpendicularity
.Cross Head -to- Cross Slide alignment
.Alignment checks for on-site machining
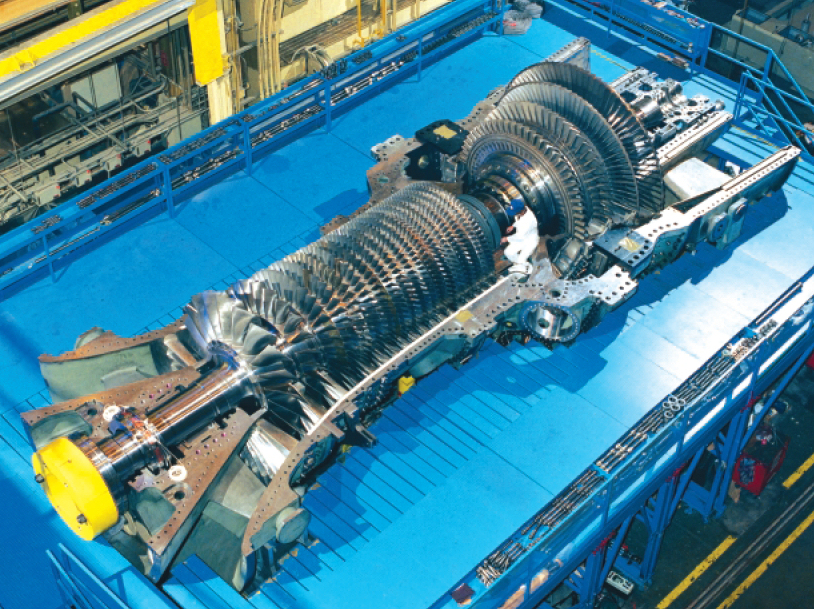
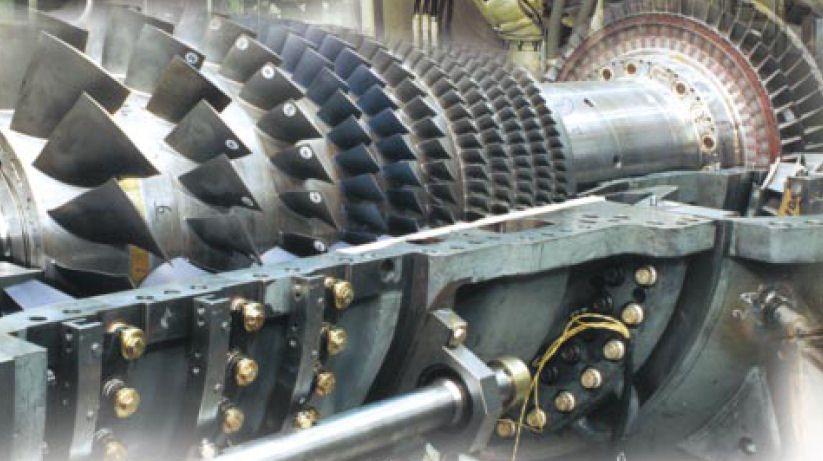
_Turbines
.Precision alignment to pumps, generators, and connecting shafts
_Jig & Fixture
.Accurate positioning
.Coordinate control of datums
.Controlled positioning of keys, pins
_Optical Alignment to Non-Gravity Reference
.Prop-shaft & engine alignment
_Monitoring of Mechanical Movements
.Dynamic process control & analysis
_Roll Alignment
.Synthetic film and paper mill roll alignments
_Extruder Alignment
_Machine Tool Analysis
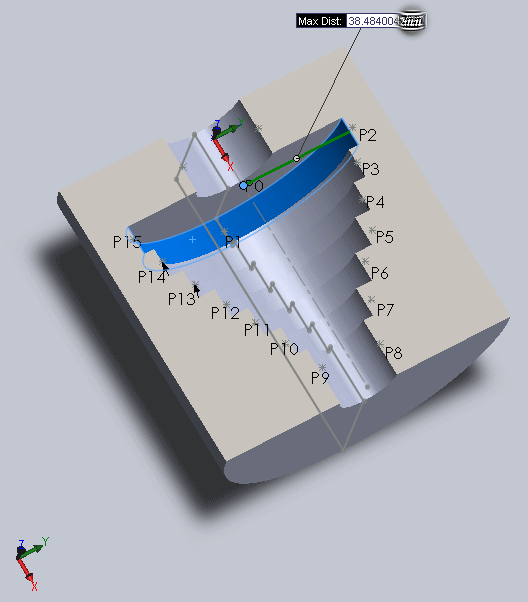
_Feature Measurement
.x,y,z coordinate measurement of features
_Training & Consulting
.Design and analysis of equipment and techniques
.Custom Software design
Industry Application Areas (partial listing):
- Aerospace
- Jig & Fixture
- Military/Defense
- Weldment Control
- Machine Tools
- Robot Positioning, Calibration, Training

- Power Generation
- Dynamic Hot/Cold Rotating Shaft Alignment
- Thermal Growth Measurement
- Paper Manufacturing
- Particle Accelerator Alignments

Return to top (Just The Facts)
A Comparison of the Technologies:
Laser Trackers / Scanners:
General Description, Tracker: Uses one angle+distance sensing
instrument which automatically tracks a target. The Tracker
instrument digitally transmits two angles (H&V) & a
distance to driving computer software. Individual instrument
calibration is checked using software combined with on-site
target manipulations; Distance is measured via laser
ADM/interferometry and its accuracy is often assumed. Software
determines the x,y,z coordinate data, provides laser tracking
feedback, and usually more.
Tracker Targeting: Contact. The target is a spherical mounted
retro- reflector (SMR) {retro-reflector mounted in a spherical
~steel ball}. Contact targeting options are numerous and build on
nesting fixtures which index with the SMR.
Tracker Accuracy @ 16 ft target (typ): +-.001 inch (3 axes polar
tolerance). This based on: One inst, Accuracy Statement per
below, Ideal environment.
Tracker Accuracy Statement: General stated accuracy is 1 part in
1 million (w/r target distance).
Comments: On-site instrument calibration check is generally
available; Mounting of laser and overall component positioning
may be critical; Instruments may be temperature sensitive and
typically require warm-up; Heating systems within the instruments
are common; An unavoidable lack of redundancy exists when using
only one instrument; Engineered technique can produce high
accuracies; When the laser beam LOS is broken during measurement
the beam is typically `reset' via a `local' or `home'
positioning or a EDM optimization (ADM); Considered one of the
most accurate technologies; Once calibrated and running, a large
number of data measurements may be quickly obtained;
Laser Scanners are also available for non-contact high density
point requirements & reverse engineering; Accuracies
vary.
Electronic Triangulation:
General Description: Uses two or more angle sensing
instruments, typically theodolites. Each instrument digitally
transmits two angles (H&V) to driving software on a portable
computer. A known distance, usually a NIST traceable Invar
calibration rod, is used to calibrate the system. Individual
instrument calibration is usually assumed; Advanced systems allow
for checking instruments and double-centering. Software
determines the x,y,z coordinate data and usually more.
Targeting: Contact or Non-Contact. Laser dot projection may be
used for Non-Contact targeting. Contact targeting options are
numerous and utilize conventional OT systems.
Accuracy @ 16 ft target: +-.0017 inch (3 axes polar tolerance);
less than +-.0015 inch (single axis). This based on: Two insts,
Insts angle accuracy = +-.5 sec, Targeting accuracy = +-.001
inch, Cal dist= 144+-.0002 inch, Ideal strength-of-angle for
insts and targets, 100% calibration, Ideal environment.
Accuracy Statement: A specific accuracy statement is complicated
by many different variables including the relative
instrument/target geometry. Generally, a target position can be
determined to within about .002 inch within a 10x10x10 ft volume
when using two fractional arc_sec insts.
Comments: On-Site instrument calibration is typically not
available each time used, driving software should allow for
instrument accuracy checks; Accuracy is dependent on geometrical
arrangements of instruments and targets; Redundancy always exists
thus allowing closure.
Electronic Trilateration:
General Description: Uses one or more angle+distance sensing
instruments, typically total-station theodolites. Each instrument
digitally transmits two angles (H&V) & a distance to
driving software on a portable computer. Individual instrument
calibration is usually assumed; System may allow for checking of
instruments. Software determines the x,y,z coordinate data and
usually more.
Targeting: Contact typical (refelctive targets); Non-contact also
available.
Accuracy @ 16 ft target: ~+-.020 inch (3 axes polar tolerance),
based on: One inst, Inst angle accuracy = +-.5 sec, EDM distance
accuracy = +-.020 inch, 100% calibration, contact targeting,
Ideal environment.
Accuracy Statement: "Angle reading accuracy of +-.5 sec
(corresponds to a lateral deviation of +-.001 inch @ a distance
of 34 ft); EDM distance typically has an absolute precision of
+-.020 inch with a .004 inch resolution. Relative measurements
over short distances and coordinates lateral to LOS may have
accuracy better than +-.020 inch."
Comments: On-site instrument calibration is generally not
available, driving software should allow for instrument accuracy
checks; Accuracy may be improved via geometrical arrangements of
instruments and targets; maximum target face angle is +-~45
arc_deg.
Digital-PhotoGrammetry/Video-PhotoGrammetry:
General Description: Uses one or more camera systems. Each
camera digitally obtains an image of the measurement area. Two or
more images are collected for triangulation.
Targeting: Typically Contact; Targets are usually of a
self-adhesive plastic film type.
Accuracy @ 16 ft target: ~+-.003 inch (single axis), ~+-.006 (3
axes polar), ideal situation; Accuracies subject to change as
photographic resolutions increase.
Accuracy Statement: "Close-range photogrammetry is capable
of producing accuracies on the order of 1 part in 100,000 of the
maximum diameter of the object photographed; Sometimes
better."
Comments: Digital images are usually post analyzed; Stable
platform for camera(s) normally not required; Dynamic objects may
be measured; A large number of photograph images are often
necessary to obtain highest accuracy; Electronic
TriLateration/TriAngulation (ET or Trilogy) type systems are
sometimes employed for additional control and accuracy;
Camera_to_target geometry must be considered.
Conventional Optical Tooling:
General Description: Typically one or more Optical Tooling
(OT) Transit Squares are calibrated on-site to produce parallel
& orthogonal lines-of-sight (LOS) using the instruments
optical and mechanical systems. Perpendicular distance is
measured from LOS to subject target via refraction of LOS using
optical micrometer; a single axis coordinate. Measurements are
manually recorded.
Targeting: Generally a Contact system using fixed bi-filar
targets and paired-line scales. Many designs and options exist
and custom targeting is common.
Accuracy @ 16 ft target: +-.001 inch (single axis, ideal
environment).
Accuracy Statement: The greater of +-.001 inch, +-1 arc- second.
Targeting distances are generally made less than 50 ft.
Comments: Calibration is recommended each time used; The
successful application of this technology generally requires
technical expertise; On-site proof of accuracy is available.
ASC provides the above summary of the various technologies available in the large scale dimensional metrology field. Our goal is to recommend and use the best technology for the subject measurement.
Please contact ASC to discuss a specific project or obtain additional information.
Return to top (Just The Facts)
Alignment Services, LLC
USA
307-733-7245
E-Mail ASC@GoMeasure.com
Return to top (Just The Facts)
Return to top (Just The Facts)
